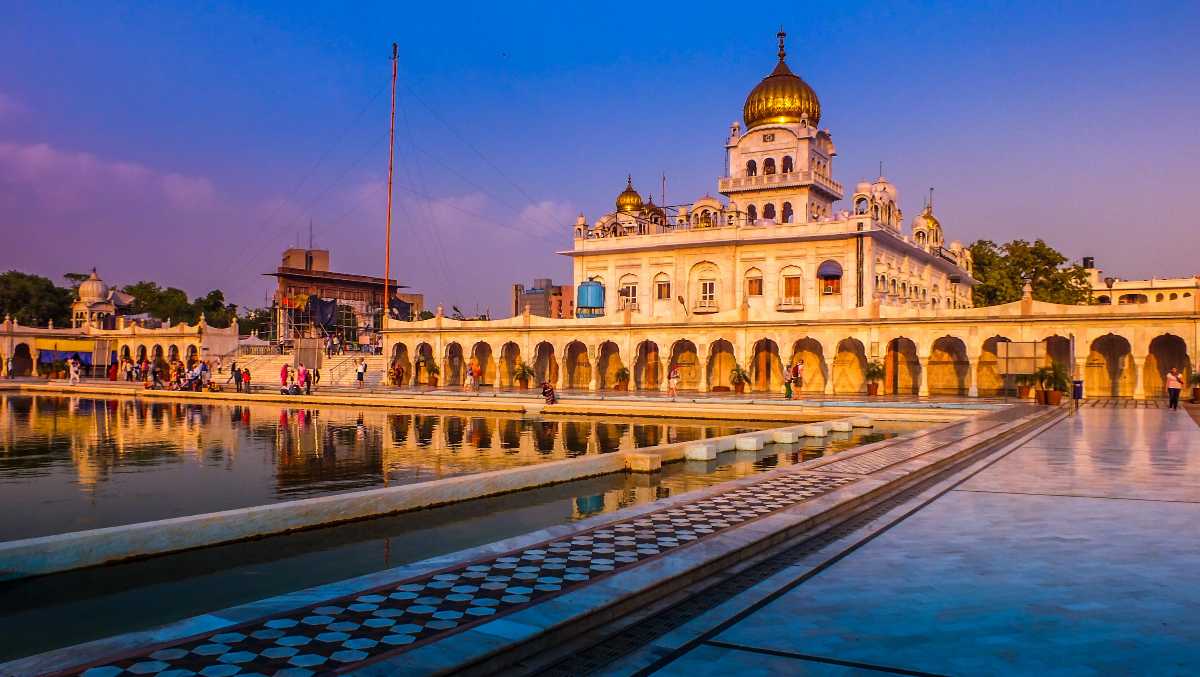
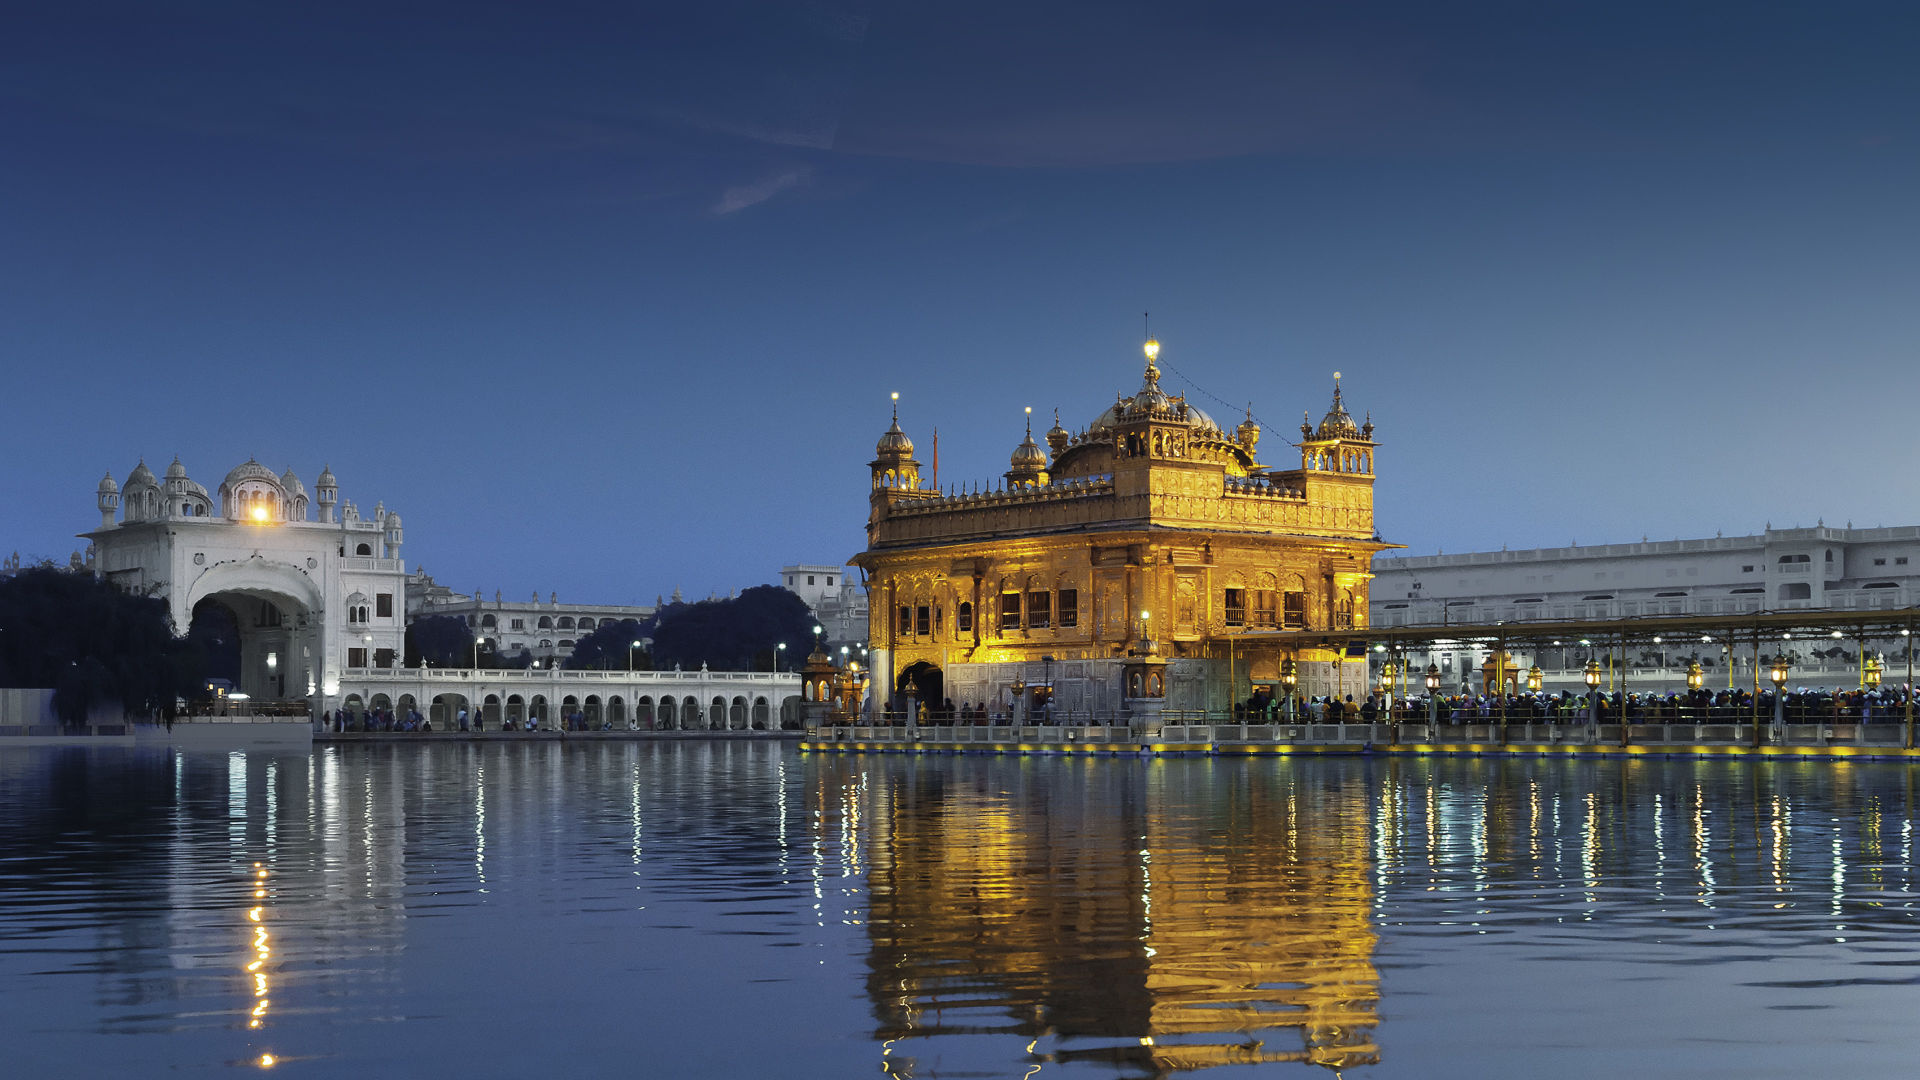
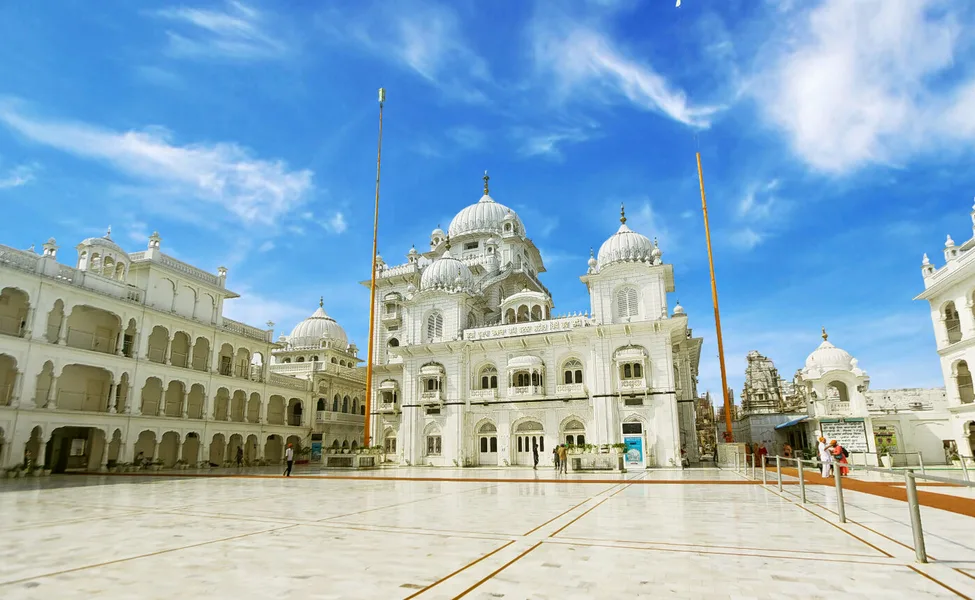
Hukamnama | Sri Darbar Sahib | Hukamnama Sri Darbar Sahib Today |
ਸੱਚਖੰਡ ਸ੍ਰੀ ਹਰਿਮੰਦਰ ਸਾਹਿਬ ਸ੍ਰੀ ਅੰਮ੍ਰਿਤਸਰ ਸਾਹਿਬ ਜੀ ਤੋਂ ਅੱਜ ਦਾ ਅੰਮ੍ਰਿਤ ਵੇਲੇ ਦਾ ਮੁੱਖਵਾਕ
ਅੰਗ :- 871
ਗੋਂਡ ॥
ਖਸਮੁ ਮਰੈ ਤਉ ਨਾਰਿ ਨ ਰੋਵੈ ॥ ਉਸੁ ਰਖਵਾਰਾ ਅਉਰੋ ਹੋਵੈ ॥ ਰਖਵਾਰੇ ਕਾ ਹੋਇ ਬਿਨਾਸ ॥ ਆਗੈ ਨਰਕੁ ਈਹਾ ਭੋਗ ਬਿਲਾਸ ॥੧॥ ਏਕ ਸੁਹਾਗਨਿ ਜਗਤ ਪਿਆਰੀ ॥ ਸਗਲੇ ਜੀਅ ਜੰਤ ਕੀ ਨਾਰੀ ॥੧॥ ਰਹਾਉ ॥ ਸੋਹਾਗਨਿ ਗਲਿ ਸੋਹੈ ਹਾਰੁ ॥ ਸੰਤ ਕਉ ਬਿਖੁ ਬਿਗਸੈ ਸੰਸਾਰੁ ॥ ਕਰਿ ਸੀਗਾਰੁ ਬਹੈ ਪਖਿਆਰੀ ॥ ਸੰਤ ਕੀ ਠਿਠਕੀ ਫਿਰੈ ਬਿਚਾਰੀ ॥੨॥ ਸੰਤ ਭਾਗਿ ਓਹ ਪਾਛੈ ਪਰੈ ॥ ਗੁਰ ਪਰਸਾਦੀ ਮਾਰਹੁ ਡਰੈ ॥ ਸਾਕਤ ਕੀ ਓਹ ਪਿੰਡ ਪਰਾਇਣਿ ॥ ਹਮ ਕਉ ਦ੍ਰਿਸਟਿ ਪਰੈ ਤ੍ਰਖਿ ਡਾਇਣਿ ॥੩॥ ਹਮ ਤਿਸ ਕਾ ਬਹੁ ਜਾਨਿਆ ਭੇਉ ॥ ਜਬ ਹੂਏ ਕ੍ਰਿਪਾਲ ਮਿਲੇ ਗੁਰਦੇਉ ॥ ਕਹੁ ਕਬੀਰ ਅਬ ਬਾਹਰਿ ਪਰੀ ॥ ਸੰਸਾਰੈ ਕੈ ਅੰਚਲਿ ਲਰੀ ॥੪॥੪॥੭॥
ਵਿਆਖਿਆ: (ਪਰ ਇਸ ਮਾਇਆ ਨੂੰ ਇਸਤ੍ਰੀ ਬਣਾ ਕੇ ਰੱਖਣ ਵਾਲਾ) ਮਨੁੱਖ (ਆਖ਼ਰ) ਮਰ ਜਾਂਦਾ ਹੈ, ਇਹ (ਮਾਇਆ) ਵਹੁਟੀ (ਉਸ ਦੇ ਮਰਨ ਤੇ) ਰੋਂਦੀ ਭੀ ਨਹੀਂ, ਕਿਉਂਕਿ ਇਸ ਦਾ ਰਾਖਾ (ਖਸਮ) ਕੋਈ ਧਿਰ ਹੋਰ ਬਣ ਜਾਂਦਾ ਹੈ (ਸੋ, ਇਹ ਕਦੇ ਭੀ ਰੰਡੀ ਨਹੀਂ ਹੁੰਦੀ)। (ਇਸ ਮਾਇਆ ਦਾ) ਰਾਖਾ ਮਰ ਜਾਂਦਾ ਹੈ, ਮਨੁੱਖ ਇੱਥੇ ਇਸ ਮਾਇਆ ਦੇ ਭੋਗਾਂ (ਵਿਚ ਮਸਤ ਰਹਿਣ) ਕਰਕੇ ਅਗਾਂਹ (ਆਪਣੇ ਲਈ) ਨਰਕ ਸਹੇੜਦਾ ਹੈ ॥੧॥ (ਇਹ ਮਾਇਆ) ਇਕ ਐਸੀ ਸੁਹਾਗਣ ਨਾਰ ਹੈ ਜਿਸ ਨੂੰ ਸਾਰਾ ਜਗਤ ਪਿਆਰ ਕਰਦਾ ਹੈ, ਸਾਰੇ ਜੀਆ ਜੰਤ ਇਸ ਨੂੰ ਆਪਣੀ ਇਸਤ੍ਰੀ ਬਣਾ ਕੇ ਰੱਖਣਾ ਚਾਹੁੰਦੇ ਹਨ (ਆਪਣੇ ਵੱਸ ਵਿਚ ਰੱਖਣਾ ਚਾਹੁੰਦੇ ਹਨ) ॥੧॥ ਰਹਾਉ ॥ ਇਸ ਸੋਹਾਗਣ ਨਾਰ ਦੇ ਗਲ ਵਿਚ ਹਾਰ ਸੋਭਦਾ ਹੈ, (ਭਾਵ, ਜੀਵਾਂ ਦੇ ਮਨ ਮੋਹਣ ਨੂੰ ਸਦਾ ਸੁਹਣੀ ਬਣੀ ਰਹਿੰਦੀ ਹੈ)। (ਇਸ ਨੂੰ ਵੇਖ ਵੇਖ ਕੇ) ਜਗਤ ਖ਼ੁਸ਼ ਹੁੰਦਾ ਹੈ, ਪਰ ਸੰਤਾਂ ਨੂੰ ਇਹ ਜ਼ਹਿਰ (ਵਾਂਗ) ਦਿੱਸਦੀ ਹੈ। ਵੇਸਵਾ (ਵਾਂਗ) ਸਦਾ ਸ਼ਿੰਗਾਰ ਕਰੀ ਰੱਖਦੀ ਹੈ, ਪਰ ਸੰਤਾਂ ਦੀ ਫਿਟਕਾਰੀ ਹੋਈ ਵਿਚਾਰੀ (ਸੰਤਾਂ ਤੋਂ) ਪਰੇ ਪਰੇ ਹੀ ਫਿਰਦੀ ਹੈ ॥੨॥ (ਇਹ ਮਾਇਆ) ਭੱਜ ਕੇ ਸੰਤਾਂ ਦੇ ਲੜ ਲੱਗਣ ਦੀ ਕੋਸ਼ਸ਼ ਕਰਦੀ ਹੈ, ਪਰ (ਸੰਤਾਂ ਉੱਤੇ) ਗੁਰੂ ਦੀ ਮਿਹਰ ਹੋਣ ਕਰ ਕੇ (ਇਹ ਸੰਤਾਂ ਦੀ) ਮਾਰ ਤੋਂ ਭੀ ਡਰਦੀ ਹੈ (ਇਸ ਵਾਸਤੇ ਨੇੜੇ ਨਹੀਂ ਢੁੱਕਦੀ)। ਇਹ ਮਾਇਆ ਪ੍ਰਭੂ ਨਾਲੋਂ ਟੁੱਟੇ ਹੋਏ ਬੰਦਿਆਂ ਦੀ ਜਿੰਦ-ਜਾਨ ਬਣੀ ਰਹਿੰਦੀ ਹੈ, ਪਰ ਮੈਨੂੰ ਤਾਂ ਇਹ ਭਿਆਨਕ ਡੈਣ ਦਿੱਸਦੀ ਹੈ ॥੩॥ ਤਦੋਂ ਤੋਂ ਮੈਂ ਇਸ ਮਾਇਆ ਦਾ ਭੇਤ ਪਾ ਲਿਆ ਹੈ, ਜਦੋਂ ਮੇਰੇ ਸਤਿਗੁਰੂ ਜੀ ਮੇਰੇ ਉੱਤੇ ਦਿਆਲ ਹੋਏ ਤੇ ਮੈਨੂੰ ਮਿਲ ਪਏ। ਕਬੀਰ ਜੀ ਆਖਦੇ ਹਨ – ਮੈਥੋਂ ਤਾਂ ਇਹ ਮਾਇਆ (ਹੁਣ) ਪਰੇ ਹਟ ਗਈ ਹੈ, ਤੇ ਸੰਸਾਰੀ ਜੀਵਾਂ ਦੇ ਪੱਲੇ ਜਾ ਲੱਗੀ ਹੈ ॥੪॥੪॥੭॥
गोंड ॥
खसमु मरै तउ नारि न रोवै ॥ उसु रखवारा अउरो होवै ॥ रखवारे का होइ बिनास ॥ आगै नरकु ईहा भोग बिलास ॥१॥ एक सुहागनि जगत पिआरी ॥ सगले जीअ जंत की नारी ॥१॥ रहाउ ॥ सोहागनि गलि सोहै हारु ॥ संत कउ बिखु बिगसै संसारु ॥ करि सीगारु बहै पखिआरी ॥ संत की ठिठकी फिरै बिचारी ॥२॥ संत भागि ओह पाछै परै ॥ गुर परसादी मारहु डरै ॥ साकत की ओह पिंड पराइणि ॥ हम कउ द्रिसटि परै त्रखि डाइणि ॥३॥ हम तिस का बहु जानिआ भेउ ॥ जब हूए क्रिपाल मिले गुरदेउ ॥ कहु कबीर अब बाहरि परी ॥ संसारै कै अंचलि लरी ॥४॥४॥७॥
Gondd ||
Khasam Marai Tau Naar Na Rovai || Us Rakhvaaraa Auro Hovai || Rakhvaare Kaa Hoe Binaas || Aagai Narak Eehaa Bhog Bilaas ||1|| Ek Suhaagan Jagat Pyaaree || Sagle Jeea Jant Kee Naaree ||1|| Rahaau || Sohaagan Gal Sohai Haar || Sant Kau Bikh Bigsai Sansaar || Kar Seegaar Bahai Pakheaaree || Sant Kee Thithakee Firai Bichaaree ||2|| Sant Bhaag Oh Paashhai Parai || Gur Parsaadee Maarahu Ddarai || Saakat Kee Oh Pindd Paraaen || Ham Kau Drisatt Parai Trakh Ddaaen ||3|| Ham Tis Kaa Bahu Jaaneaa Bheu || Jab Hooe Kirpaal Mile Gurdeu || Kahu Kabeer Ab Baahar Paree || Sansaarai Kai Anchal Laree ||4||4||7||
Meaning: When her husband dies, the woman does not cry. Someone else becomes her protector. When this protector dies, He falls into the world of hell hereafter, for the sexual pleasures he enjoyed in this world. ||1|| The world loves only the one bride, Maya. She is the wife of all beings and creatures. ||1|| Pause || With her necklace around her neck, this bride looks beautiful. She is poison to the Saint, but the world is delighted with her. Adorning herself, she sits like a prostitute. Cursed by the Saints, she wanders around like a wretch. ||2|| She runs around, chasing after the Saints. She is afraid of being beaten by those blessed with the Guru’s Grace. She is the body, the breath of life, of the faithless cynics. She appears to me like a blood-thirsty witch. ||3|| I know her secrets well In His Mercy, the Divine Guru met me. Says Kabeer Ji, now I have thrown her out. She clings to the skirt of the world. ||4||4||7||
Meaning: Dhhanaasaree Mahalaa 1 Ghar 2 Asattpadeeaa
One Universal Creator God. By The Grace Of The True Guru:
The Guru is the ocean, filled with pearls. The Saints gather in the Ambrosial Nectar; they do not go far away from there. They taste the subtle essence of the Lord; they are loved by God. Within this pool, the swans find their Lord, the Lord of their souls. ||1|| What can the poor crane accomplish by bathing in the mud puddle ? It sinks into the mire, and its filth is not washed away. ||1||Pause|| After careful deliberation, the thoughtful person takes a step. Forsaking duality, he becomes a devotee of the Formless Lord. He obtains the treasure of liberation, and enjoys the sublime essence of the Lord. His comings and goings end, and the Guru protects him. ||2|| The swan do not leave this pool. In loving devotional worship, they merge in the Celestial Lord. The swans are in the pool, and the pool is in the swans. They speak the Unspoken Speech, and they honor and revere the Guru’s Word. ||3|| The Yogi, the Primal Lord, sits within the celestial sphere of deepest Samaadhi. He is not male, and He is not female; how can anyone describe Him ? The three worlds continue to center their attention on His Light. The silent sages and the Yogic masters seek the Sanctuary of the True Lord. ||4|| The Lord is the source of bliss, the support of the helpless. The Gurmukhs worship and contemplate the Celestial Lord. God is the Lover of His devotees, the Destroyer of fear. Subduing ego, one meets the Lord, and places his feet on the Path. ||5|| He makes many efforts, but still, the Messenger of Death tortures him. Destined only to die, he comes into the world. He wastes this precious human life through duality. He does not know his own self, and trapped by doubts, he cries out in pain. ||6|| Speak, read and hear of the One Lord. The Support of the earth shall bless you with courage, righteousness and protection. Chastity, purity and self-restraint are infused into the heart, when one centers his mind in the fourth state. ||7|| They are immaculate and true, and filth does not stick to them. Through the Word of the Guru’s Shabad, their doubt and fear depart. The form and personality of the Primal Lord are incomparably beautiful. Nanak Ji begs for the Lord, the Embodiment of Truth. ||8||1||
www.shrimuktsarsahib.in
hukamnama,
hukamnama from amritsar today,
hukamnama sri darbar sahib today,
hukamnama sahib,
hukamnama katha manji sahib today,
hukamnama darbar sahib,
hukamnama from amritsar today with meaning,
hukamnama today,
hukamnama from amritsar today live,
hukamnama sri darbar sahib today live,
hukamnama darbar sahib today,
hukamnama from amritsar today evening,
hukamnama amritsar,
hukamnama amritsar today,
hukamnama aaj ka,
hukamnama ajj da,
hukamnama amritsar darbar sahib,
hukamnama ang 621,
hukamnama ardas,
hukamnama app,
hukamnama ang 725,
hukamnama amritsar sahib,
aaj da hukamnama,
aj da hukamnama golden temple in punjabi,
aaj ka hukamnama,
ajj da hukamnama darbar sahib amritsar,
aj da hukamnama,
aaj da hukamnama harmandir sahib,
aaj da hukamnama sri harmandir sahib,
aaj da hukamnama amritsar,
amritsar hukamnama,
aaj ka hukamnama darbar sahib,