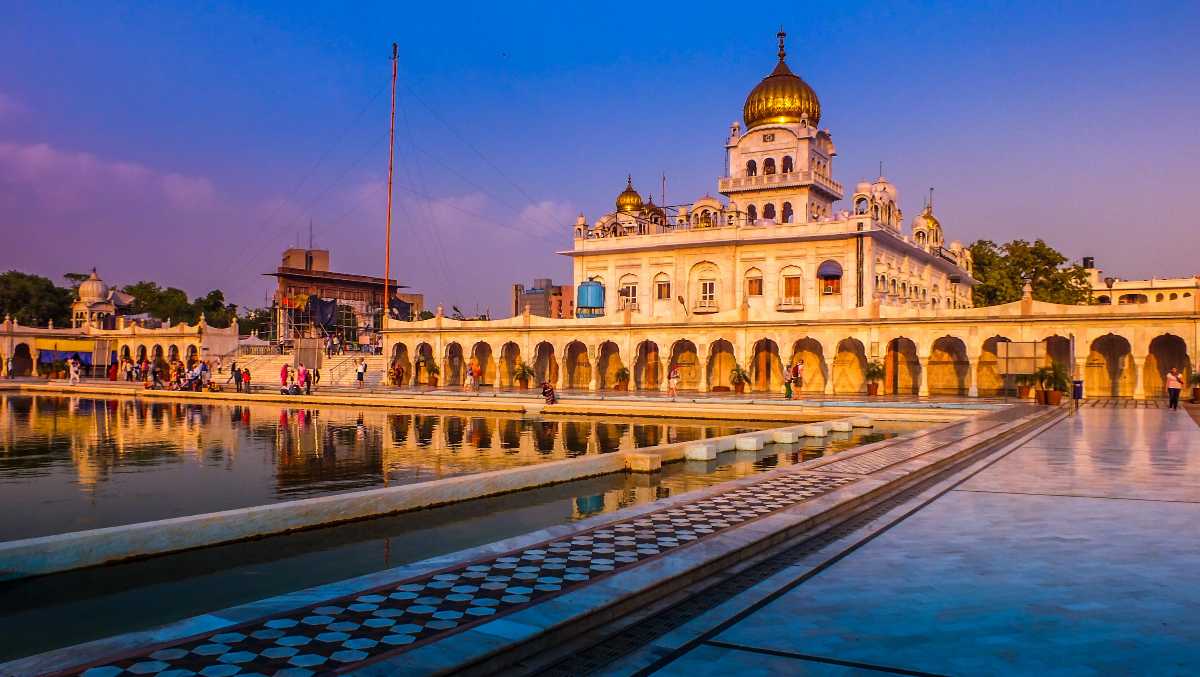
Hukamnama Sahib From Gurdwara Shri Bangla Sahib, New Delhi, India
ਗੁਰਦਵਾਰਾ ਬੰਗਲਾ ਸਾਹਿਬ ਜੀ ਤੋਂ ਅੱਜ ਦਾ ਪਾਵਨ ਪਵਿੱਤਰ ਹੁਕਮਨਾਮਾ
ਅੰਗ :- 665
Mukhwaak In Punjabi
ਧਨਾਸਰੀ ਮਹਲਾ ੩ ॥
ਕਾਚਾ ਧਨੁ ਸੰਚਹਿ ਮੂਰਖ ਗਾਵਾਰ ॥ ਮਨਮੁਖ ਭੂਲੇ ਅੰਧ ਗਾਵਾਰ ॥ ਬਿਖਿਆ ਕੈ ਧਨਿ ਸਦਾ ਦੁਖੁ ਹੋਇ ॥ ਨਾ ਸਾਥਿ ਜਾਇ ਨ ਪਰਾਪਤਿ ਹੋਇ ॥੧॥ ਸਾਚਾ ਧਨੁ ਗੁਰਮਤੀ ਪਾਏ ॥ ਕਾਚਾ ਧਨੁ ਫੁਨਿ ਆਵੈ ਜਾਏ ॥ ਰਹਾਉ ॥ ਮਨਮੁਖਿ ਭੂਲੇ ਸਭਿ ਮਰਹਿ ਗਵਾਰ ॥ ਭਵਜਲਿ ਡੂਬੇ ਨ ਉਰਵਾਰਿ ਨ ਪਾਰਿ ॥ ਸਤਿਗੁਰੁ ਭੇਟੇ ਪੂਰੈ ਭਾਗਿ ॥ ਸਾਚਿ ਰਤੇ ਅਹਿਨਿਸਿ ਬੈਰਾਗਿ ॥੨॥ ਚਹੁ ਜੁਗ ਮਹਿ ਅੰਮ੍ਰਿਤੁ ਸਾਚੀ ਬਾਣੀ ॥ ਪੂਰੈ ਭਾਗਿ ਹਰਿ ਨਾਮਿ ਸਮਾਣੀ ॥ ਸਿਧ ਸਾਧਿਕ ਤਰਸਹਿ ਸਭਿ ਲੋਇ ॥ ਪੂਰੈ ਭਾਗਿ ਪਰਾਪਤਿ ਹੋਇ ॥੩॥ ਸਭੁ ਕਿਛੁ ਸਾਚਾ ਸਾਚਾ ਹੈ ਸੋਇ ॥ ਊਤਮ ਬ੍ਰਹਮੁ ਪਛਾਣੈ ਕੋਇ ॥ ਸਚੁ ਸਾਚਾ ਸਚੁ ਆਪਿ ਦ੍ਰਿੜਾਏ ॥ ਨਾਨਕ ਆਪੇ ਵੇਖੈ ਆਪੇ ਸਚਿ ਲਾਏ ॥੪॥੭॥
Meaning In Punjabi
ਅਰਥ: ਜੇਹੜਾ ਮਨੁੱਖ ਗੁਰੂ ਦੀ ਮਤਿ ਉਤੇ ਤੁਰਦਾ ਹੈ, ਉਹ ਸਦਾ ਕਾਇਮ ਰਹਿਣ ਵਾਲਾ ਹਰਿ-ਨਾਮ-ਧਨ ਹਾਸਲ ਕਰ ਲੈਂਦਾ ਹੈ। (ਪਰ ਦੁਨੀਆ ਵਾਲਾ) ਨਾਸਵੰਤ ਧਨ ਕਦੇ ਮਨੁੱਖ ਨੂੰ ਮਿਲ ਜਾਂਦਾ ਹੈ ਕਦੇ ਹੱਥੋਂ ਨਿਕਲ ਜਾਂਦਾ ਹੈ।ਰਹਾਉ। ਹੇ ਭਾਈ! ਮੂਰਖ ਅੰਞਾਣ ਲੋਕ (ਸਿਰਫ਼ ਦੁਨੀਆ ਵਾਲਾ) ਨਾਸਵੰਤ ਧਨ (ਹੀ) ਜੋੜਦੇ ਰਹਿੰਦੇ ਹਨ। ਆਪਣੇ ਮਨ ਦੇ ਪਿੱਛੇ ਤੁਰਨ ਵਾਲੇ, ਮਾਇਆ ਦੇ ਮੋਹ ਵਿਚ ਅੰਨ੍ਹੇ ਹੋਏ ਹੋਏ ਮਨੁੱਖ ਕੁਰਾਹੇ ਪਏ ਰਹਿੰਦੇ ਹਨ। ਹੇ ਭਾਈ! ਮਾਇਆ ਦੇ ਧਨ ਨਾਲ ਸਦਾ ਦੁੱਖ (ਹੀ) ਮਿਲਦਾ ਹੈ। ਇਹ ਧਨ ਨਾਹ ਹੀ ਮਨੁੱਖ ਦੇ ਨਾਲ ਜਾਂਦਾ ਹੈ, ਅਤੇ, ਨਾਹ ਹੀ (ਇਸ ਨੂੰ ਜੋੜ ਜੋੜ ਕੇ) ਸੰਤੋਖ ਪ੍ਰਾਪਤ ਹੁੰਦਾ ਹੈ।੧। ਹੇ ਭਾਈ! ਆਪਣੇ ਮਨ ਦੇ ਪਿੱਛੇ ਤੁਰਨ ਵਾਲੇ ਮੂਰਖ ਮਨੁੱਖ (ਮਾਇਆ ਦੇ ਮੋਹ ਦੇ ਕਾਰਨ) ਕੁਰਾਹੇ ਪੈ ਕੇ ਸਭ ਆਤਮਕ ਮੌਤ ਸਹੇੜ ਲੈਂਦੇ ਹਨ, ਸੰਸਾਰ-ਸਮੁੰਦਰ ਵਿਚ ਡੁੱਬ ਜਾਂਦੇ ਹਨ, ਨਾਹ ਉਰਲੇ ਬੰਨੇ ਰਹਿੰਦੇ ਹਨ, ਨਾਹ ਪਾਰਲੇ ਬੰਨੇ (ਨਾਹ ਇਹ ਮਾਇਆ ਸਾਥ ਤੋੜ ਨਿਬਾਹੁੰਦੀ ਹੈ, ਨਾਹ ਨਾਮ-ਧਨ ਜੋੜਿਆ ਹੁੰਦਾ ਹੈ) । ਜਿਨ੍ਹਾਂ ਮਨੁੱਖਾਂ ਨੂੰ ਪੂਰੀ ਕਿਸਮਤ ਨਾਲ ਗੁਰੂ ਮਿਲ ਪੈਂਦਾ ਹੈ ਉਹ ਦਿਨ ਰਾਤ (ਹਰ ਵੇਲੇ) ਸਦਾ-ਥਿਰ ਹਰਿ-ਨਾਮ ਵਿਚ ਮਗਨ ਰਹਿੰਦੇ ਹਨ (ਨਾਮ ਦੀ ਬਰਕਤਿ ਨਾਲ ਮਾਇਆ ਵਲੋਂ) ਉਪਰਾਮਤਾ ਵਿਚ ਟਿਕੇ ਰਹਿੰਦੇ ਹਨ।੨। ਹੇ ਭਾਈ! ਸਦਾ-ਥਿਰ ਪ੍ਰਭੂ ਦੀ ਸਿਫ਼ਤਿ-ਸਾਲਾਹ ਵਾਲੀ ਗੁਰਬਾਣੀ ਸਦਾ ਹੀ ਆਤਮਕ ਜੀਵਨ ਦੇਣ ਵਾਲਾ ਨਾਮ-ਜਲ (ਵੰਡਦੀ ਹੈ) , ਪੂਰੀ ਕਿਸਮਤ ਨਾਲ (ਮਨੁੱਖ ਇਸ ਬਾਣੀ ਦੀ ਬਰਕਤਿ ਨਾਲ) ਪਰਮਾਤਮਾ ਦੇ ਨਾਮ ਵਿਚ ਲੀਨ ਹੋ ਜਾਂਦਾ ਹੈ। ਹੇ ਭਾਈ! ਕਰਾਮਾਤੀ ਜੋਗੀ ਤੇ ਸਾਧਨਾਂ ਕਰਨ ਵਾਲੇ ਜੋਗੀ ਸਾਰੇ ਹੀ ਜਗਤ ਵਿਚ (ਇਸ ਬਾਣੀ ਦੀ ਖ਼ਾਤਰ) ਤਰਲੇ ਲੈਂਦੇ ਹਨ, ਪਰ ਪੂਰੀ ਕਿਸਮਤ ਨਾਲ ਹੀ ਮਿਲਦੀ ਹੈ।੩। ਹੇ ਭਾਈ! ਜੇਹੜਾ ਕੋਈ ਵਿਰਲਾ ਮਨੁੱਖ ਪਵਿੱਤ੍ਰ-ਸਰੂਪ ਪਰਮਾਤਮਾ ਨਾਲ ਸਾਂਝ ਪਾਂਦਾ ਹੈ ਉਸ ਨੂੰ ਹਰੇਕ ਸ਼ੈ ਉਸ ਸਦਾ-ਥਿਰ ਪ੍ਰਭੂ ਦਾ ਰੂਪ ਦਿੱਸਦੀ ਹੈ, ਉਸ ਨੂੰ ਹਰ ਥਾਂ ਉਹ ਸਦਾ-ਥਿਰ ਪ੍ਰਭੂ ਹੀ ਵੱਸਦਾ ਦਿੱਸਦਾ ਹੈ। ਹੇ ਨਾਨਕ! ਸਦਾ-ਥਿਰ ਰਹਿਣ ਵਾਲਾ ਪਰਮਾਤਮਾ ਆਪਣਾ ਸਦਾ-ਥਿਰ ਨਾਮ ਆਪ ਹੀ (ਮਨੁੱਖ ਦੇ ਹਿਰਦੇ ਵਿਚ) ਪੱਕਾ ਕਰਦਾ ਹੈ। ਉਹ ਆਪ ਹੀ (ਸਭ ਦੀ) ਸੰਭਾਲ ਕਰਦਾ ਹੈ, ਤੇ, ਆਪ ਹੀ (ਜੀਵਾਂ ਨੂੰ) ਆਪਣੇ ਸਦਾ-ਥਿਰ ਨਾਮ ਵਿਚ ਜੋੜਦਾ ਹੈ।੪।੭।
Mukhwaak In Hindi
धनासरी महला ३ ॥
काचा धनु संचहि मूरख गावार ॥ मनमुख भूले अंध गावार ॥ बिखिआ कै धनि सदा दुखु होइ ॥ ना साथि जाइ न परापति होइ ॥१॥ साचा धनु गुरमती पाए ॥ काचा धनु फुनि आवै जाए ॥ रहाउ ॥ मनमुखि भूले सभि मरहि गवार ॥ भवजलि डूबे न उरवारि न पारि ॥ सतिगुरु भेटे पूरै भागि ॥ साचि रते अहिनिसि बैरागि ॥२॥ चहु जुग महि अम्रितु साची बाणी ॥ पूरै भागि हरि नामि समाणी ॥ सिध साधिक तरसहि सभि लोइ ॥ पूरै भागि परापति होइ ॥३॥ सभु किछु साचा साचा है सोइ ॥ ऊतम ब्रहमु पछाणै कोइ ॥ सचु साचा सचु आपि द्रिड़ाए ॥ नानक आपे वेखै आपे सचि लाए ॥४॥७॥
Mukhwaak Meaning In Hindi
अर्थ: जो मनुष्य गुरू की मति पर चलते हैं, वे सदा कायम रहने वाले हरी-नाम-धन को हासिल कर लेते हैं। (पर दुनिया वाला) नाशवंत धन कभी मनुष्य को मिल जाता है कभी हाथ से निकल जाता है। रहाउ। हे भाई! मूर्ख अंजान लोग (सिर्फ दुनियावी) नाशवंत धन (ही) जोड़ते हैं। अपने मन के पीछे चलने वाले, माया के मोह में अंधे हुए मनुष्य गलत रास्ते पर पड़े रहते हैं। हे भाई! माया के धन से सदा दुख (ही) मिलता है। ये धन ना ही मनुष्य के साथ जाता है और ना ही (इसे इकट्ठा कर-करके) संतोष ही मिलता है।1। हे भाई! अपने मन के पीछे चलने वाले मनुष्य (माया के मोह के कारण) गलत राह पड़ कर आत्मिक मौत सहेड़ लेते हैं, संसार समुंद्र में डूब जाते हैं, ना इस पार रहते हैं, ना उस पार (ना ये माया आखिर तक साथ निभाती है, ना नाम-धन जोड़ा होता है)। जिन मनुष्यों को पूरी किस्मत से गुरू मिल जाता है वह दिन रात (हर वक्त) सदा-स्थिर हरी-नाम में मगन रहते हैं (नाम की बरकति से माया की ओर से) उपरामता में टिके रहते हैं।2। हे भाई! सदा-स्थिर प्रभू की सिफत सालाह वाली गुरबाणी सदा ही आत्मिक जीवन देने वाला नाम-जल (बाँटती है), पूरी किस्मत से (मनुष्य इस बाणी की बरकति से) परमात्मा के नाम में लीन हो जाता है। हे भाई! करामाती योगी और साधना करने वाले योगी सारे ही जगत में (इस बाणी की खातिर) तरले लेते हैं, पर पूरी किस्मत से मिलती है।3। हे भाई! जो कोई विरला मनुष्य पवित्र-स्वरूप परमात्मा के साथ सांझ डालता है उसे हरेक चीज़ सदा-स्थिर प्रभू का रूप दिखाई देती है, उसे हर जगह वह सदा-स्थिर प्रभू ही बसता दिखता है। हे नानक! सदा-स्थिर रहने वाला परमात्मा अपना सदा-स्थिर नाम खुद ही (मनुष्य के दिल में) पक्का करता है। वह खुद ही (सबकी) संभाल करता है, और खुद ही (जीवों को) अपने सदा स्थिर नाम में जोड़ता है।4।7।
www.shrimuktsarsahib.com
hukamnama bangla sahib
hukamnama bangla sahib today
aaj da hukamnama bangla sahib
aaj ka hukamnama bangla sahib
daily hukamnama bangla sahib
hukamnama for today
hukamnama from bangla sahib
today’s hukamnama from bangla sahib
bangla sahib gurudwara hukamnama
gurudwara bangla sahib hukamnama
hukamnama bangla sahib today in hindi
today’s hukamnama from bangla sahib in hindi
hukamnama of today
mukhwak darbar sahib
hukamnama of bangla sahib
today hukamnama bangla sahib
hukamnama today from darbar sahib
sis ganj hukamnama
hukamnama sis ganj sahib today
today hukamnama bangla sahib
hukamnama of the day
hukamnama gurudwara bangla sahib
hukamnama bangla sahib today,hukamnama bangla sahib,bangla sahib live hukamnama,aaj da hukamnama bangla sahib,hukamnama from bangla sahib today,bangla sahib da hukamnama,hukamnama bangla sahib gurudwara,hukamnama bangla sahib gurudwara delhi,bangla sahib,hukamnama sahib,sri bangla sahib,gurudwara sri bangla sahib,bangla sahib gurudwara delhi,bangla sahib gurudwara gurbani,today hukamnama,hukamnama,hukamnama today,hukamnama bangla sahib delhi